How To Start A Second Row Crochet Chain
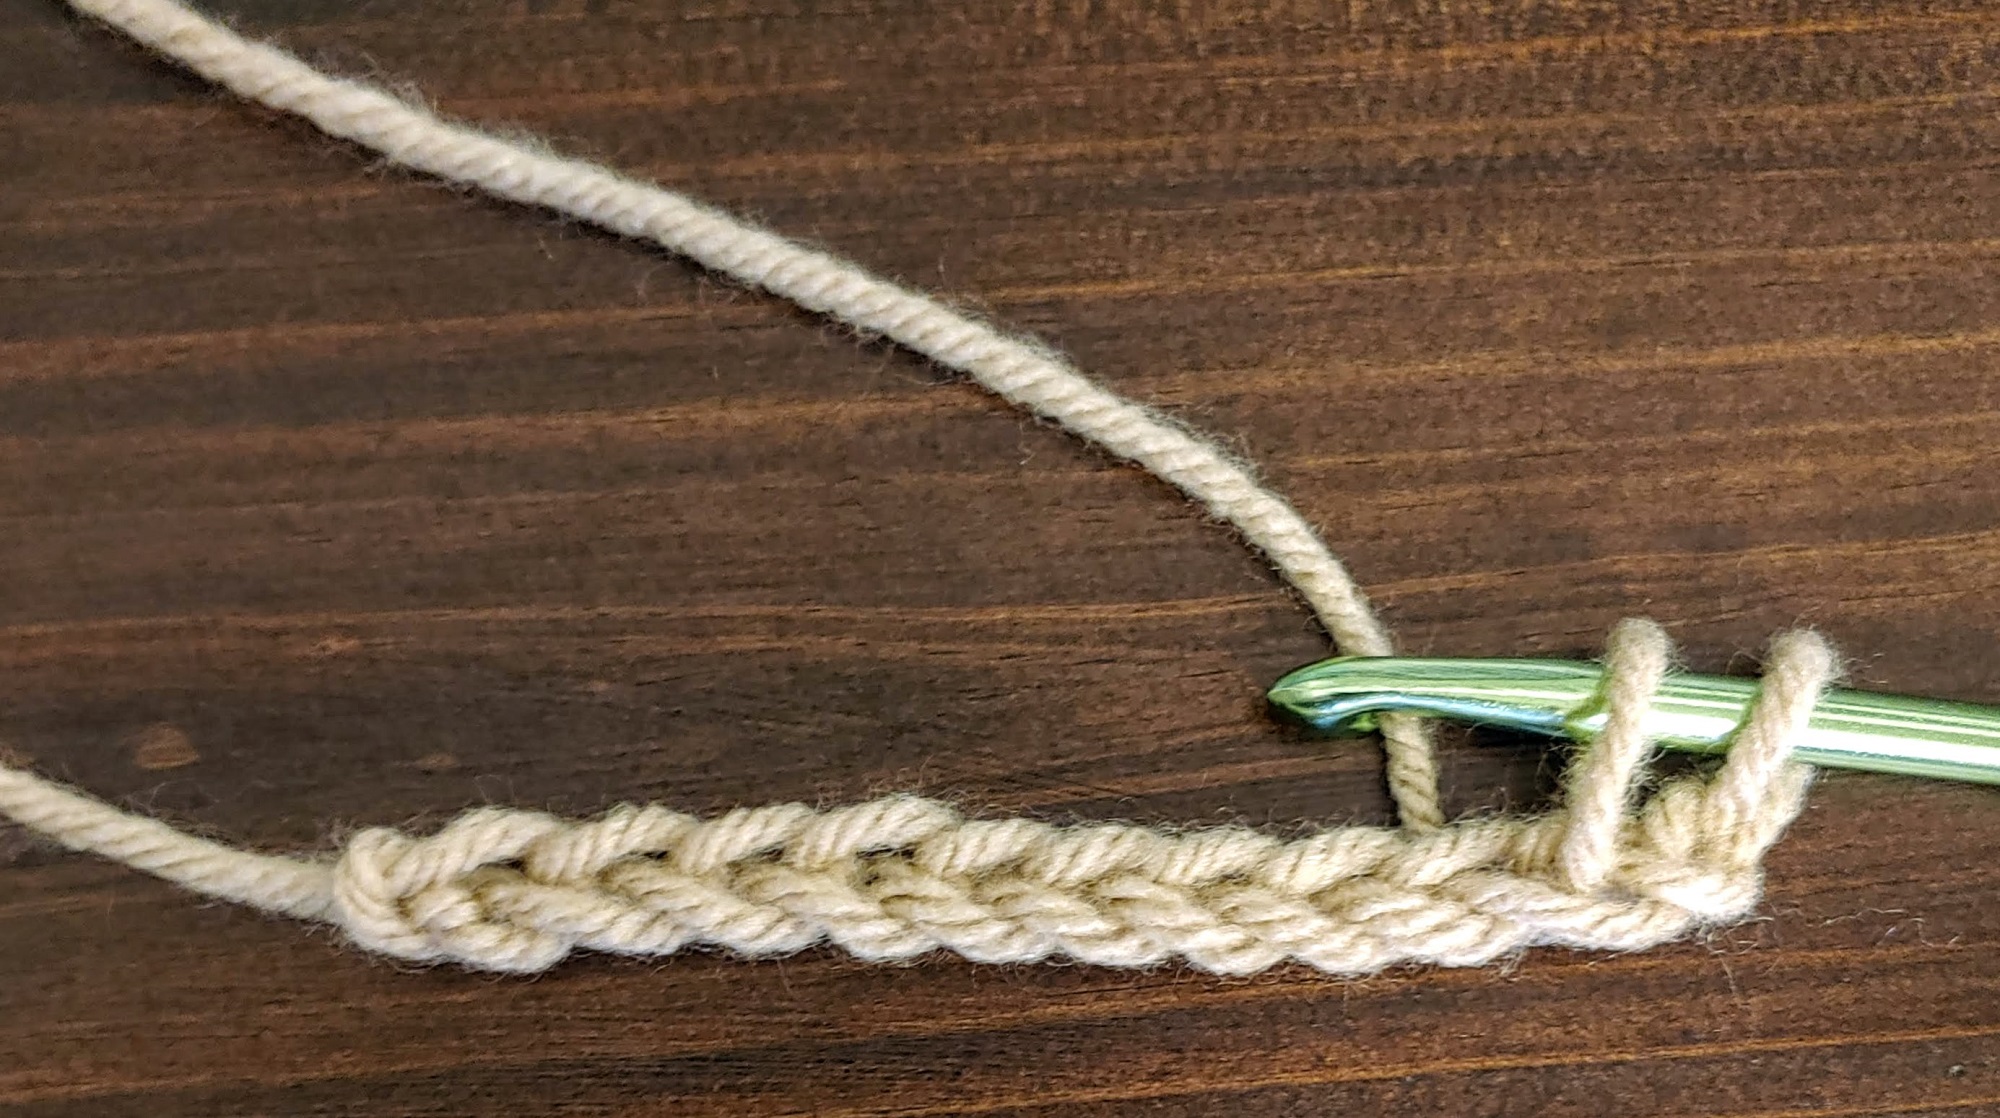
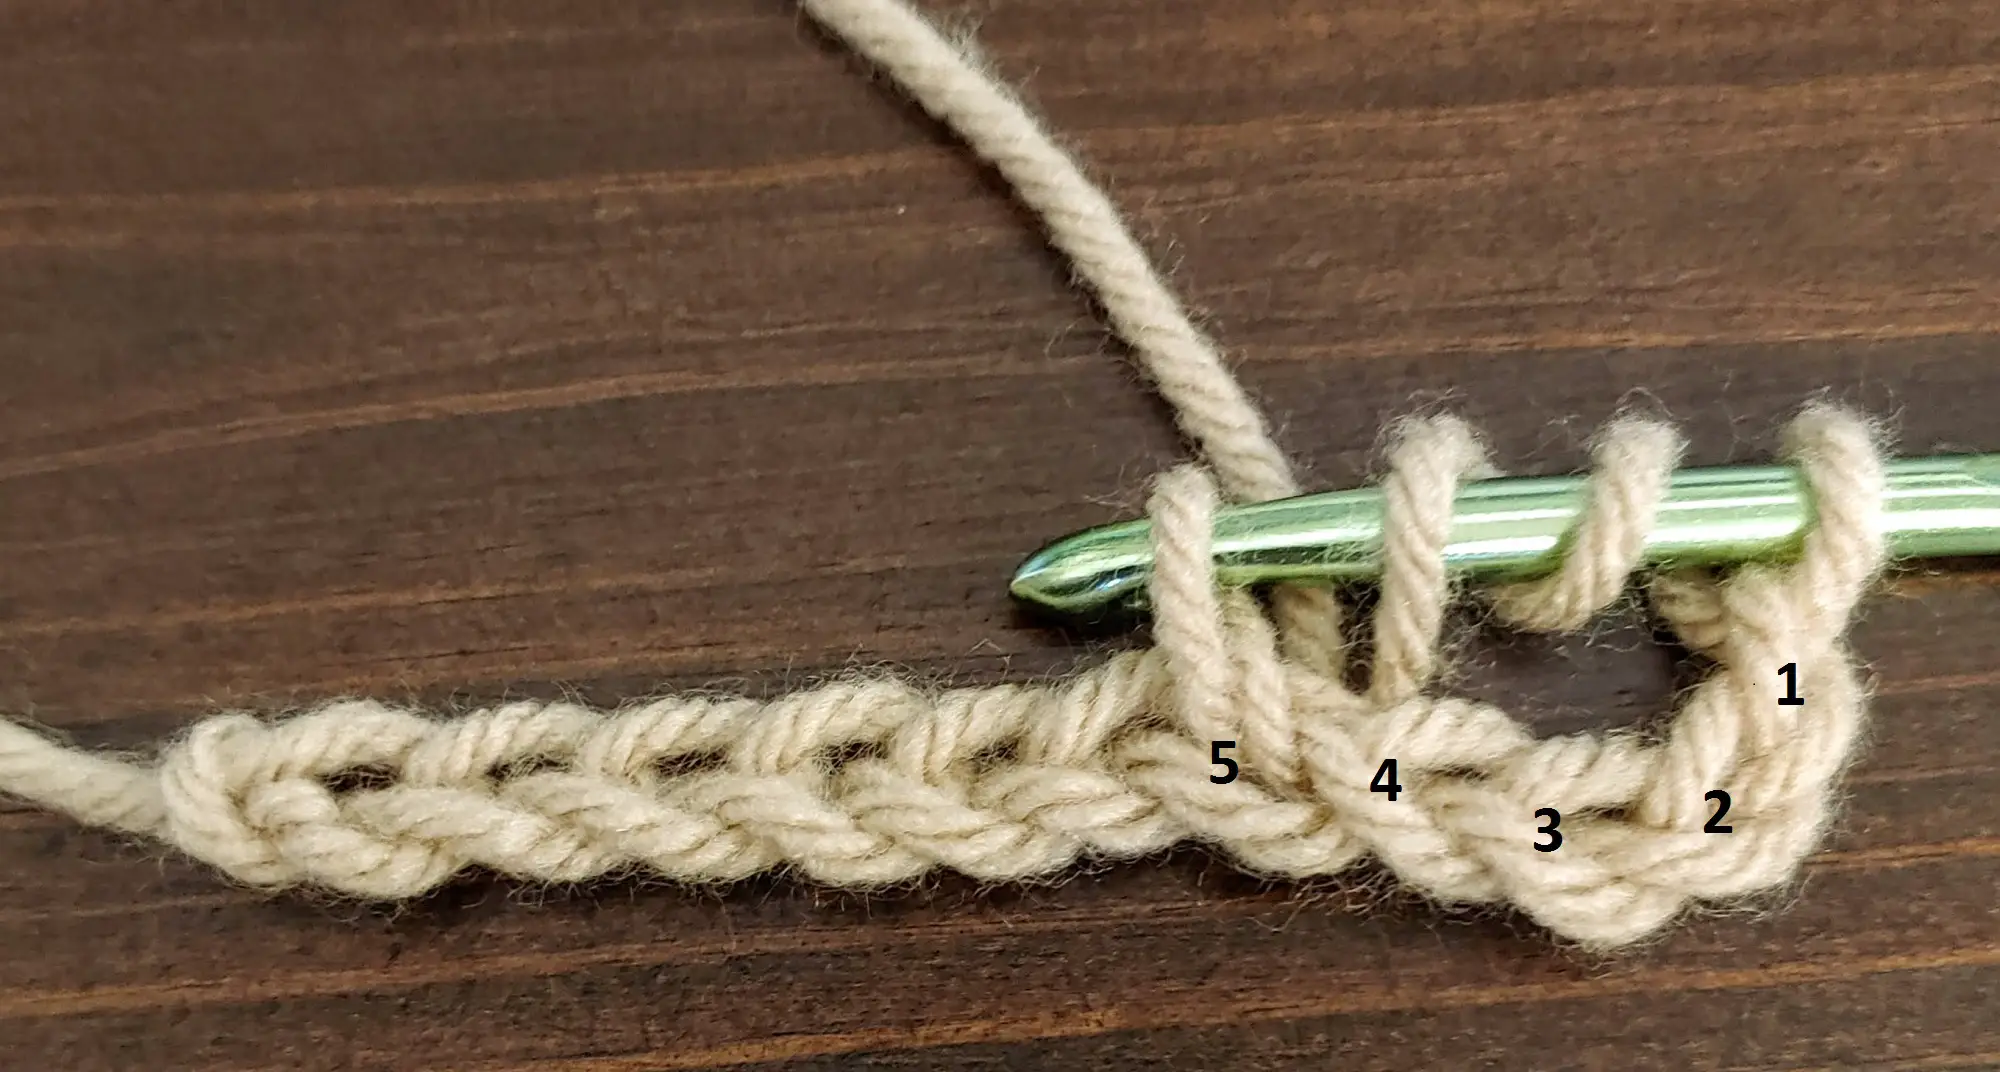
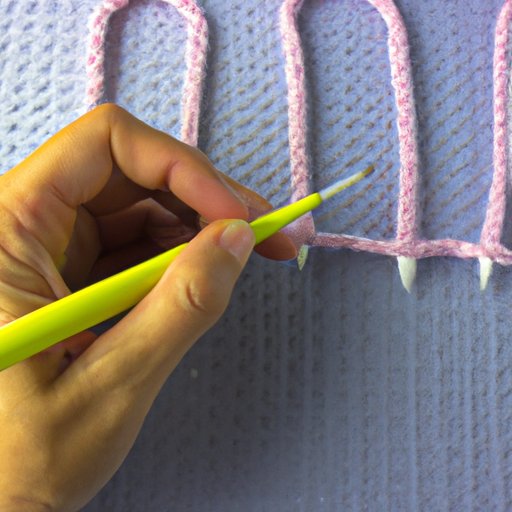
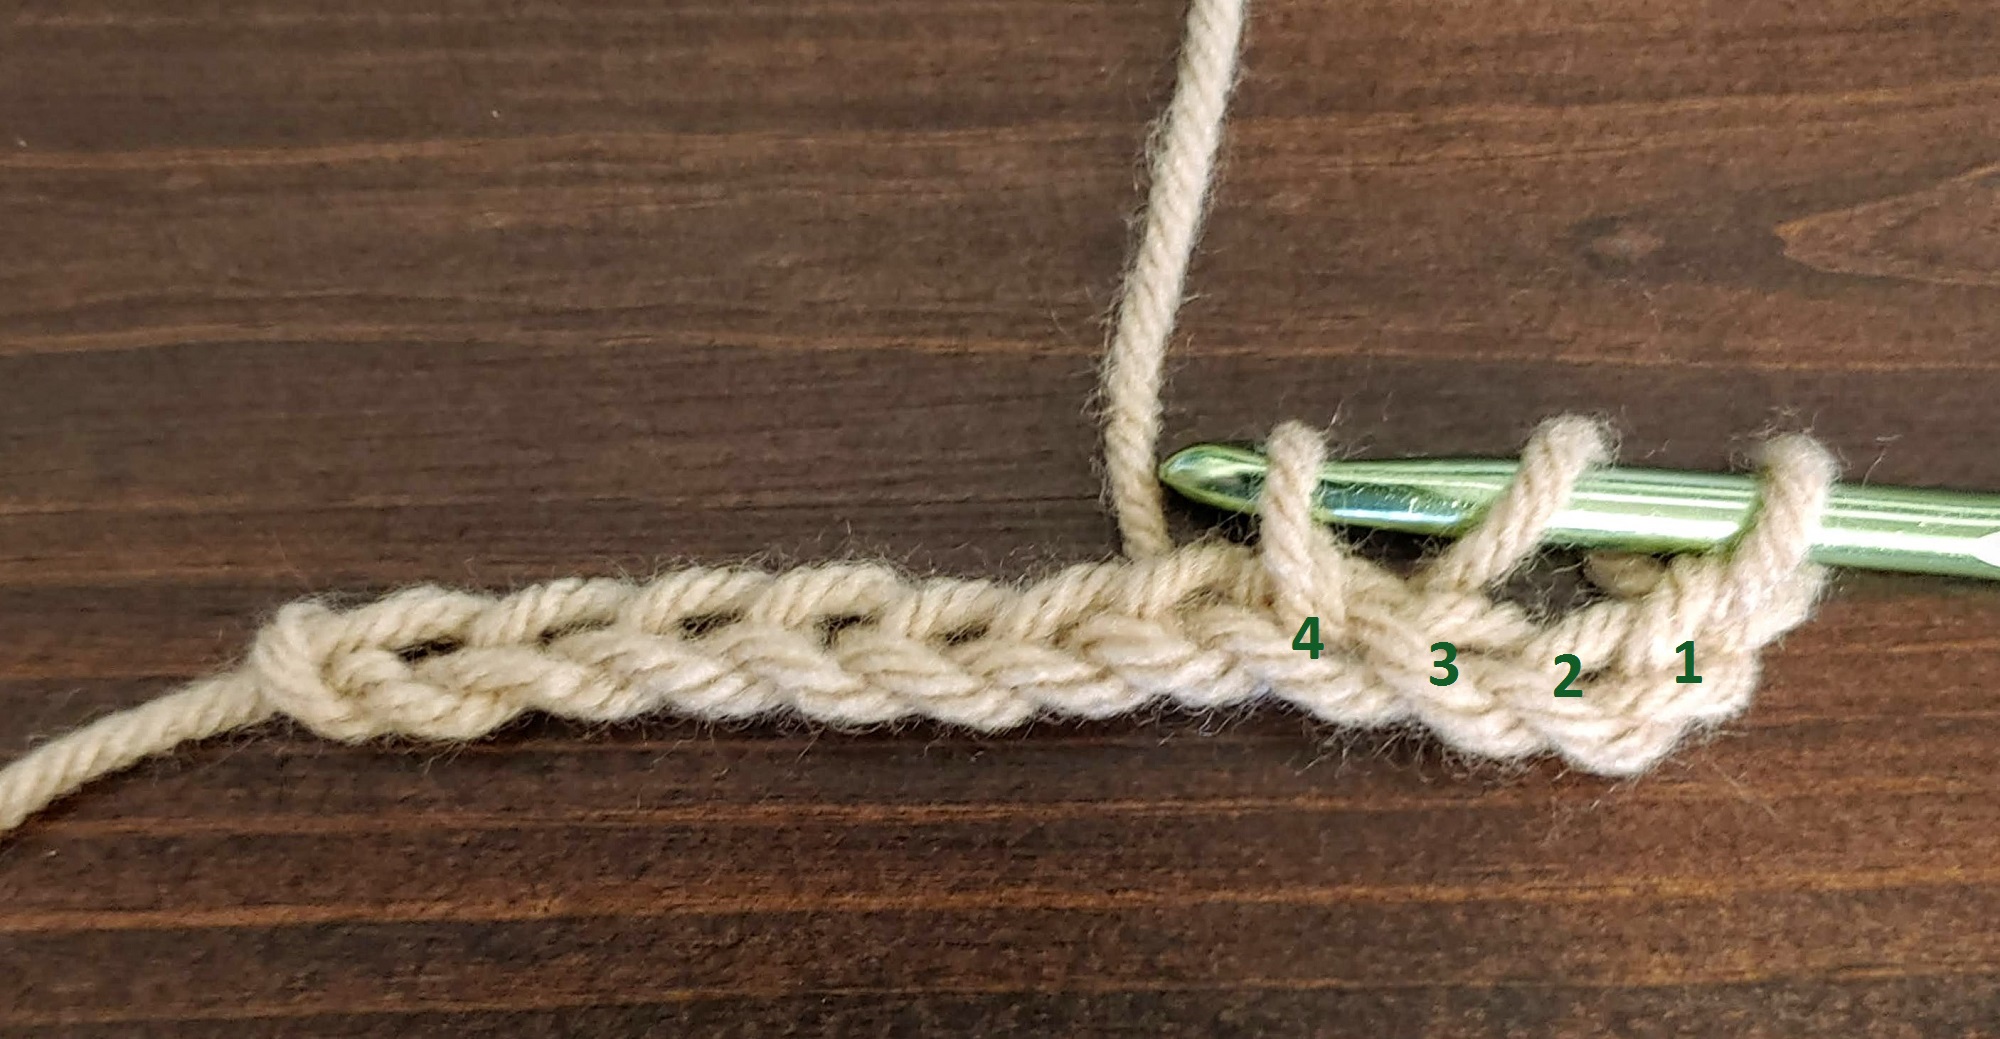
How To Start A Second Row Crochet Chain - Web you've crocheted a chain, and to start a second row of single crochet stitches: By placing your hook in the correct position, you’re setting yourself up for success as you continue crocheting. Web when starting the second row in crochet, ensure your hook is inserted in the top of the first stitch from the row below. It’s important for beginners to learn how to make a chain so you can make a foundation row, start or end a row and make a chain stitch whenever the pattern calls for it. Chains are frequently used in a variety of crochet stitches. At the end of each row you either chain 1 and turn or turn and chain 1. You'll want to put the hook under the just the side of the horizontal v further away from you, so it should look like you have two strands of yarn on the hook. So if we are working double crochet stitches (u.k. With practice, creating a solid foundation chain will become second nature. How to start the next row: Web instructions:start by chaining any even number of stitches.row 1:single crochet into second chain from hook. Crochet all stitches of this row through the back loops of the foundation chain: There should be a total of 18 stitches on each row. It’s important for beginners to learn how to make a chain so you can make a foundation row, start or end a row and make a chain stitch whenever the pattern calls for it. Chains are frequently used in a variety of crochet stitches. To start a second row in crochet, flip your work like the page of a book so that you can keep on crocheting into the previous row of stitches. When you reach the end of the row, ch 1 and turn. Our crochet tutorials will take you from zero to. The number of chains you’ll need to turn depends on the stitch you’ll use for the next row. By placing your hook in the correct position, you’re setting yourself up for success as you continue crocheting. Here the chain 1 is a turning chain and does not count as a stitch. Insert the hook into the first stitch from the last row and make a single crochet. Insert the hook under the back loop of the second ch from the hook. If your count is off, you may have either dropped or skipped a stitch. Where. When working in rows, we begin the second row by making some chains, called the turning or starting chain. Web for example, a single crochet turning chain is the most common type of turning chain and is used for most basic crochet patterns. Web below are the steps for turning your chain to start a new row in a crochet. Sc in the 2nd ch from your hook and in each st across. Crochet all stitches of this second row through the back loops of the foundation chain. Web starting the second row of a crochet blanket can be intimidating for beginners, but with a few tips and tricks, it’s easy to get started and create a stunning piece of. Insert the hook into the first stitch from the last row and make a single crochet. Web you've crocheted a chain, and to start a second row of single crochet stitches: Web staring a new single crochet row with a chain 1 and single crochet in the first stitch. Crochet all stitches of this row through the back loops of. To start a second row in crochet, flip your work like the page of a book so that you can keep on crocheting into the previous row of stitches. The word chain comes from the fact that it loos like a metal chain when crocheted, a series of rings connected together. Holding the yarn from the free end, wrap it. Lay the yarn over your left index finger. Web make a foundation chain: Web learning how to crochet? Web as well as forming the foundation row, chain stitches also help us “move up” to the next row or round in crochet. Reaching the end of the row: This helps maintain an even and consistent appearance to your project. Web below are the steps for turning your chain to start a new row in a crochet project. It’s important for beginners to learn how to make a chain so you can make a foundation row, start or end a row and make a chain stitch whenever the pattern. Continue to the end of the row. By placing your hook in the correct position, you’re setting yourself up for success as you continue crocheting. Here the chain 1 is a turning chain and does not count as a stitch. Now you’re ready to start the next row. To start a crochet chain stitch, you will need to make a. Insert your hook under the back loop of the second chain from the hook. Web count your chains carefully to avoid mistakes later on. When you reach the end of the row, ch 1 and turn. One of the simplest tricks for starting a second row of crochet is the slip knot method. Insert the hook into the first stitch. Continue to the end of the row. To start the next row, skip the first ch from the hook, unless otherwise written. Chains are frequently used in a variety of crochet stitches. This part is crocheted/stacked on previous tr stitches from the row below. First stitch of a new row For double crochet, it’s the fourth chain from the hook, and so on. If this happens, take apart the row you just made and start again. Web staring a new single crochet row with a chain 1 and single crochet in the first stitch. One of the simplest tricks for starting a second row of crochet is the slip knot method. Web below are the steps for turning your chain to start a new row in a crochet project. Web make a slip knot. With practice, creating a solid foundation chain will become second nature. To start the next row, skip the first ch from the hook, unless otherwise written. Quick reference for single crochet. Reaching the end of the row: Work a single crochet in that very first stitch. Stick out your pointer finger so your nail is facing away from you and drape the end of the yarn over your finger. Here the chain 1 is a turning chain and does not count as a stitch. When starting your second row in crochet, remember to work into the top loops of the stitches from the previous row. To start a second row in crochet, flip your work like the page of a book so that you can keep on crocheting into the previous row of stitches. Web loop the yarn over your finger.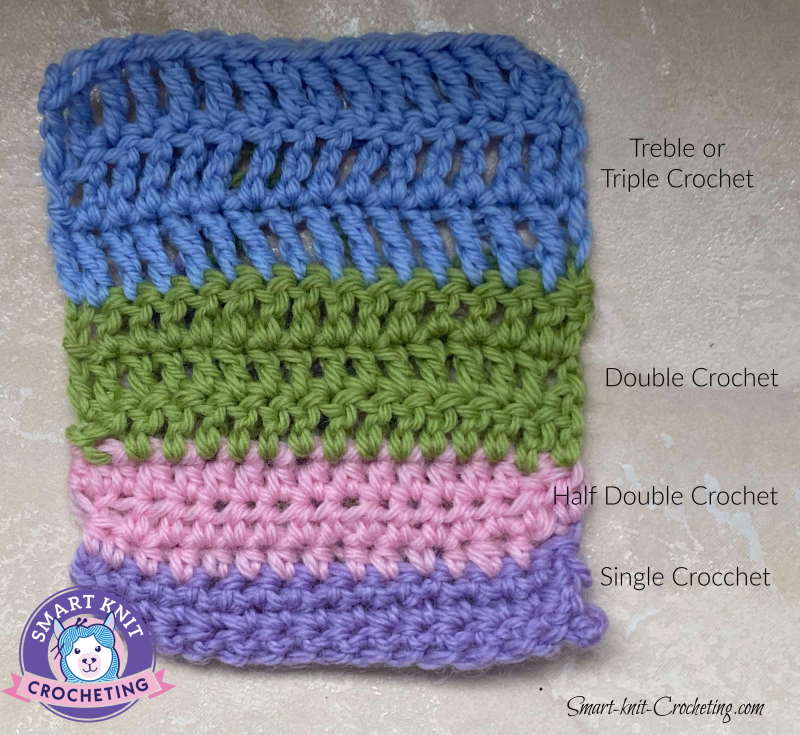
How to Crochet the Second Row of Stitches Beginner Crochet
Starting the Second Row of Crochet Working Into the Foundation Chain
Starting the Second Row of Crochet Working Into the Foundation Chain
How to Start a Second Row in Crocheting A StepbyStep Guide The
How to Start a Second Row in Crocheting A StepbyStep Guide The
Starting the Second Row of Crochet Working Into the Foundation Chain

How to Move Up to your Second Row of Crochet YouTube

How to Crochet A Complete Guide for Beginners Sarah Maker

Learn how to crochet. FREE ultimate beginner's guide to crochet crochet

Crochet Rows How to End One and Start Another and How to Finish Off
Learn How To Single Crochet Into A Chain, And How To Start A New Row.
Crochet All Stitches Of This Second Row Through The Back Loops Of The Foundation Chain.
Web Instructions:start By Chaining Any Even Number Of Stitches.row 1:Single Crochet Into Second Chain From Hook.
Continue To The End Of The Row.
Related Post: